Part of the cleaning process when assembling a new engine build is ensuring all the thread holes are in good condition and clear of gunk and crusty build up. We have found that just washing them or giving them a scrub with pipe cleaners is not sufficient to remove things like rust, burnt oil and grime. The only way to really clean the threads is to run a thread chaser or very carefully a thread cutting tap.
Why Clean the Threads?
Just like the rest of the motor you want to reduce and minimize the amount of particles and debris that get into the fresh engine during the build process. Trapped dirt and grime can hide internally within the various engine threads and come out when the vibration starts and the hot oil begins to flow.
More importantly you want to make sure the threads are in good condition and clear to ensure you don’t cross thread or strip out any of the bolt holes. You also want to make sure you get the right torque values when assembling and tightening all the various engine components together to ensure even clamping force.
Tools and Equipment:
Engine Block
Cylinder Head
Engine Components
Brake Cleaner
Automatic Transmission Fluid (ATF)
Safety Glasses
Powder Free Nitrile Gloves
Thread Chaser
Thread Cutting Taps Various Sizes
Paper Towels
Coffee Filters
Lint Free Cloths
Threads Sizes on the Nissan / Datsun Engine
The Datsun L-Series motors were manufactured in Japan so use metric thread sizes but there are also a few specialty Japanese thread sizes. Such as Japanese Industrial Standard (JIS) Tapered Pipe thread types found on some of the intake fittings. The JIS Tapered Pipe Thread is somewhat interchangeable with British standard pipe threads. Here are a bunch of the different thread sizes and pitch for the Engine Block, Cylinder Head and components on the L-Series engines.
Camshaft Tower into Cylinder Head M8 x 1.25
Camshaft Tower Spray Bar Mounting Holes M6 x 1.00
Camshaft Front Block Off Plate M6 x 1.00
Camshaft Snout M16 x 2.00
Crankshaft Flywheel Bolt Holes M12 x 1.25
Crankshaft Snout M16 x 1.50
Main Bearing Caps M10 x 1.50
Main Cap Top Holes for Removal M8 x 1.25
Oil Pump Mounting M8 x 1.25
Oil Pick Up M8 x 1.25
Oil Pan Bolts M6 x 1.00
Crankcase Vent Cover Bolts M6 x 1.00
Front Cover Bolts M6 x 1.00 / M8 x 1.25
Water Pump Mount M6 x 1.00 / M8 x 1.25
Motor Mounts Into Block M10 x 1.50
Alternator Mount Into Block M10 x 1.50
Smog Equipment Mounts M10 x 1.50
Cylinder Head Bolts into the Engine Block M10 x 1.50
Cylinder Head Intake/Exhaust Mounting Studs M8 x 1.25
Cylinder Head Spark Plug Thread M14 x 1.25
SU Intake Mounting Stud M8 x 1.25
SU Intake Heat Shield Mount Holes M6 x 1.00
Here is a list of thread taps or chasers that you will find useful when rebuilding your L-Series motor.
M6 x 1.00
M8 x 1.25
M10 x 1.50
M12 x 1.25
M14 x 1.25
M16 x 1.50
M16 x 2.00
Cleaning Rusty Threads
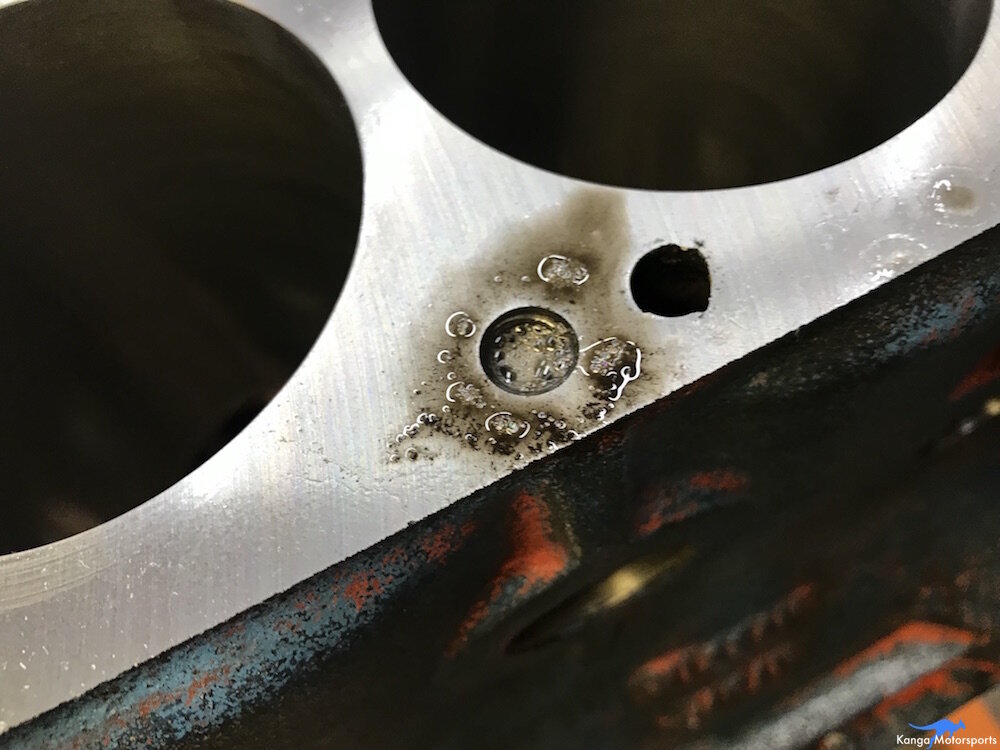
The threads on the cast iron engine block are often full of rust or dried out oil and grime. Depending on the condition you might start by spraying brake cleaner in the threaded holes to loosen and break up the grime.
Use lint free cloths, paper towels or coffee filters to clean out whatever the brake cleaner has broken up or displaced.
We then fill the holes with Automatic Transmission Fluid (ATF) to act as a lubricant for the thread cutting tap or chaser and also for trapping any grit and dirt the tap removes from the threads.
For cast Iron blocks we tend to use thread cutting taps over chasers as they seem better able to cut through and remove any old rust that has developed on the threads.
Always start the cutting tap by hand to ensure that you do not cross thread the tap. Continue to twist the tap into the block (clockwise) a few turns until you start to feel it lightly snag on the grime.
Then twist it back the other way (counter clockwise) to help clear any dirt removed. The clearing flutes on the tap help move the dirty material out of the way. Continue this process working the tap back and forth in the block to clear the rust, baked on oil and grime.
As you run the tap into the block the ATF will push up out of the hole displace by the tap and also carry the dirt and debris up out of the hole.
Be patient and take the process slowly working the tap back and forth to remove all the dirty material. The entire process will take some time but it will be worth the results.
Use a lint free cloth or paper towels to wipe away the ATF and debris. Sometime you will have to run the tap or thread chaser through the block multiple times to really clear it out.
Here you can see some of the dirt and debris left over by running the tap through the threaded holes.
After each hole make sure to clean the threaded cutting tap including the threads and the flutes.
Different threaded taps will be needed depending on the location in the block and the size of the hole. Notice how dirty the rags get from just a few holes. All of this grime and dirt could be floating around inside your oil or freshly built engine.
Also make sure to clean out the threads on the outside of the block. It will make the assembly process much easier incase you find an issue. Much easier to fix any threaded holes now than later on when you already have the engine parts cleaned out and partially assembled.
We cleaned out all of the threaded holes on the block even the ones we might not use for mounting. We wanted to get rid of any rust or dirt and then cover over the unused holes with a fresh coat of paint when prepping the engine block.
Here you can see we rotated the block to fill the threaded holes on the side of the block with ATF.
We found it easier to fill all the holes on one side at a time with ATF. This way we could keep track of which threads had been cleaned even if we got interrupted or had to stop part way through the process.
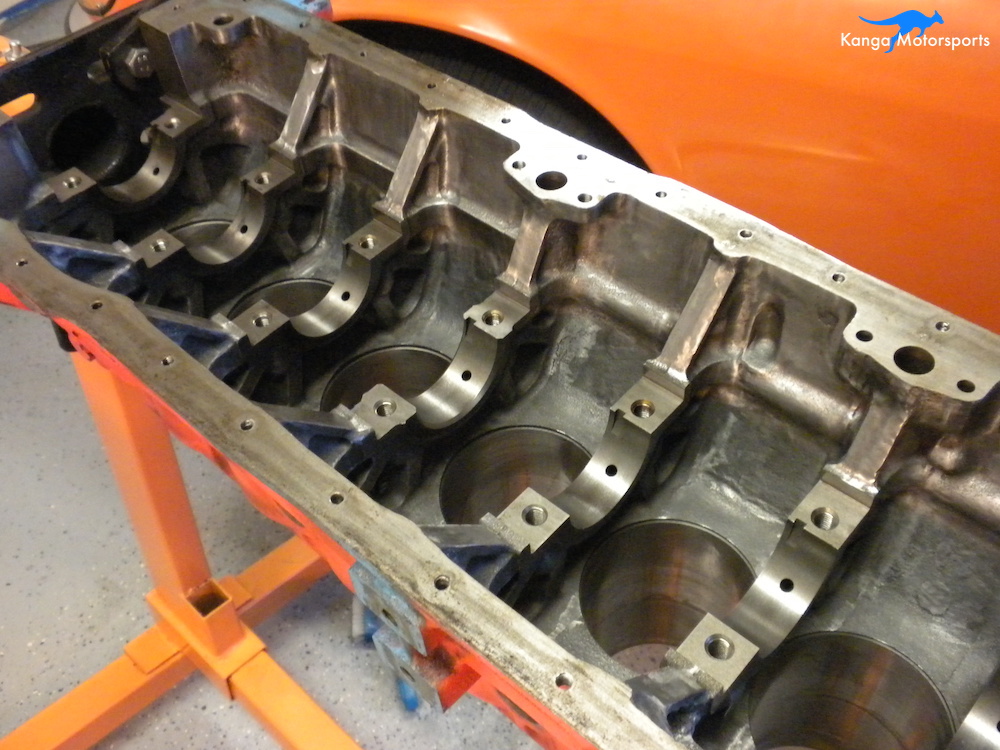
You also want to ensure the main cap holes are clean for proper torquing and even clamping of the main caps. We protected the main surfaces and oil feeds from debris using some masking tap.
Make sure to use well positioned towels to collect and prevent any of the grit and debris from scratching the surfaces or getting into the oil galleries.
Use the same process with the aluminum components on the engine. You might be better suited using a thread chaser here to prevent ruining the soft metal threads.
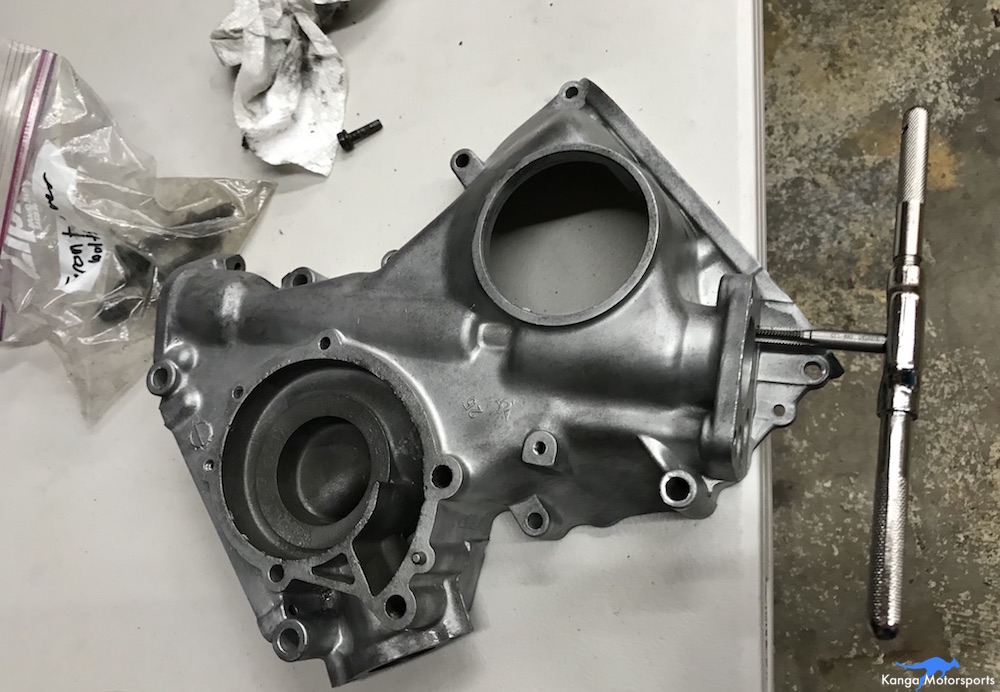
We didn’t have any thread chasers at the time so very carefully used the thread cutting taps. Only start the taps by hand. Be extremely careful when you start to ensure you do not cross thread or strip out the soft aluminum. Here you can see us cleaning out the threaded holes of the front cover for the oil pump drive.
Cleaning out all the the front cover holes, make sure to get all the debris out of the threaded holes. We found a few threaded holes that had seen better days damaged or abused that required us to very careful and slowly run the cutting tap through to straighten or recut the threads. Hopefully you don’t find any that bad and you can easily get your engine components ready for assembly.
Here you can see an older video of us clearing out the intake and exhaust stud threads on the Datsun Cylinder head.
Continue the process for all the various engine parts. After running the chasers or thread cutting taps through make sure to thoroughly clean the all engine components and especially the threaded holes.
Want more Datsun 240z articles and tech tips sign up for our Kanga Motorsports Newsletter


