We purchased an Arizona Z Car Cast Oil Pan for the increased oil capacity and baffle system for our Datsun Engine Build. The baffle system uses trap doors to prevent the oil from sloshing side to side in high G turns reducing the possibility of oil starvation when out on track.
Tools and Equipment:
Oil Pan
Coffee Filters
Denatured Alcohol
Safety Glasses
Powder Free Nitrile Gloves
Nylon Brushes
Simple Green HD
Hot Water
Plastic Tub
Air Compressor
Air Gun Spray Nozzle
Drill Bits
Counter Sink bit
Allen / Hex Keys
3/8 Inch Wrenches
Fine Metal File
Hex Bit (Optional)
Ratchet (Optional)
Magnetic Parts Tray (Optional)
Oil Pan Preparations
Like all engine components you should clean them thoroughly before installing into the build. When we received the Oil Pan we noticed debris, metal shavings and oily residue likely left over from the shipping, manufacturing and machining processes. Not a problem as we were already going to the clean the part.
Disassemble the Oil Pan
Often with stamped and welded engine oil pans they are difficult to clean as they can’t be easily disassembled. The Arizona Z Car is straight forward to take apart allowing easy access to the various components.
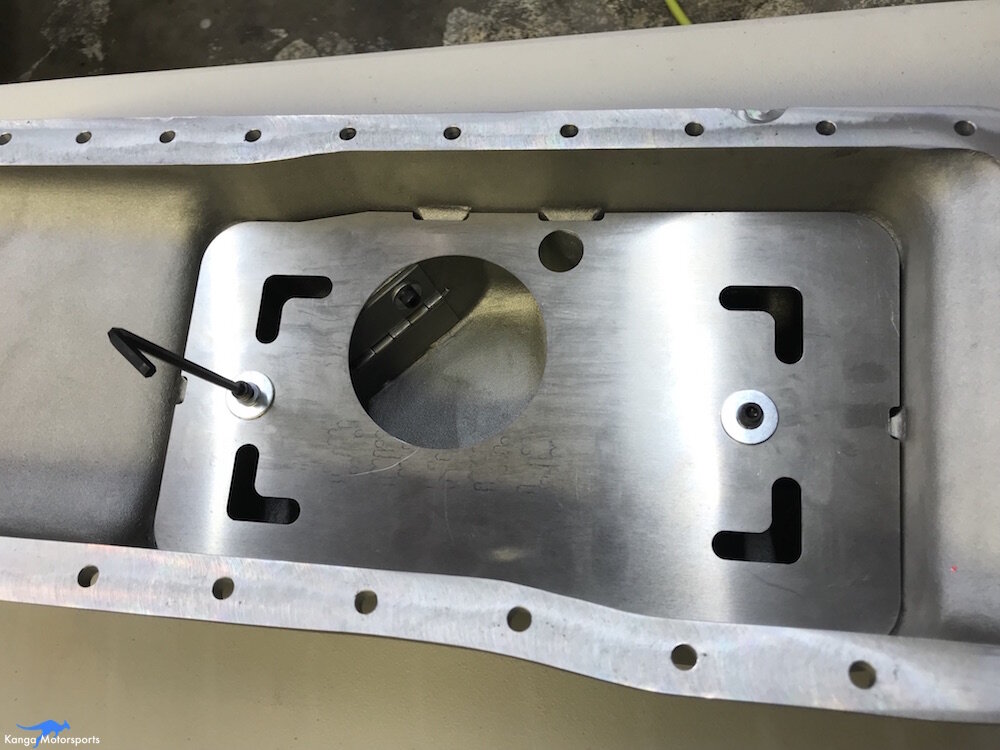
Remove the baffle by using an Allen/Hex key undoing the top two fasteners held in place with a lock washer.
Remove the trap doors using the Allen/Hex Key and a 3/8th inch wrench. Here you can see we used a ratchet and hex bit to speed up the process.
Make sure to store the bolts, nuts and washers together. We used a magnetic parts tray to keep track of everything and prevent losing them.
With the baffle and trap doors removed you can see the cast features for locating the parts and also the channel details for having the oil route to the pick up location.
You can see some of the dirt, grime and metal shavings in the pan. Not to worry we will clean all of this out and get the oil pan ready for engine assembly.
Oil Pan Part Preparations
Before heading into the cleaning now is the time to make any modifications or corrections to the parts. While the pan as delivered would have worked fine we decided to spend a little time making tweaks to make it easier to re-assemble and ensure smooth operation.
When we got the pan there was a slight ding on the edge of the flat sealing surface, likely from shipping. We very careful smoothed it out using a fine metal file to ensure a nice even flat surface for the gasket.
When we disassembled some of the trap doors we noticed a few of the holes were too small for the bolts and so created gauling and metal shavings when we disassembled.
This bolt had to be unthreaded from the trap door.
We used the drill and an appropriately sized drill bit working it back and forth through all the trap doors to enlarge any holes that were too small.
We then used a countersink bit to deburr and smooth the edges.
Using the drill bit we checked the casting holes for size and any imperfections that might snag the bolt causing metal shavings or casting debris.
We again use the countersink tool to deburr the holes this time on the cast oil pan.
There were a few casting imperfection that we were worried might break off with vibration and use so just like the engine block internals we removed or smoothed out the surface this time using a fine metal file.
We also check the trap door movements to make sure they operated smoothly and there weren’t any messed up edges that would result in them getting stuck open or shut.
Check all the parts over one last time and make sure any modifications are complete before transitioning to washing. You don’t want to make more metal shavings and then have to go back and clean everything over again after finding an issue.
Washing the Oil Pan
We use a combination of hot clean water and Simple Green HD in a plastic tub to submerge and clean the parts. When scrubbing make sure to get into all the different areas we had to use a variety of different nylon brushes to access the hard to reach areas.
Use pipe cleaners and scrubbing brushes to get into all of the holes and threaded locations.
Scrub and clean the Oil Pan until all the stains are removed and the finish is even and consistent indicating no spots of grime.
Make sure to wash and scrub all the other components including the baffle, trap doors, and any fasteners. Spend the time to make sure everything is clean.
Rinse with clean hot water to remove any of the residual cleaning agents. We have found Hot water also helps to heat up the part and speed up the drying time.
Blow dry the oil pan and other parts with clean dry compressed air. You might need to tip over and rotate the parts to get out any trapped water.
We had to hold the fasteners in a cupped hand to prevent them flying across the garage floor.
The parts now look a lot cleaner after their scrub bath.
Cleaning the Oil Pan
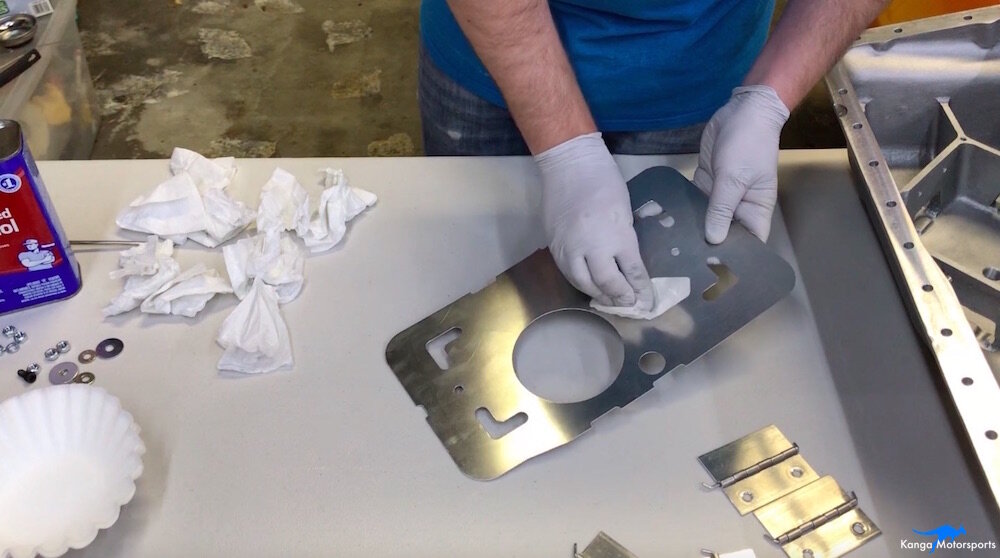
The next stage of cleaning removes any left over grime and films. Wipe down all the surfaces with denatured alcohol and coffee filters. Use safety gear protect your hands with gloves do not get this stuff on your skin.
We use coffee filters as they are cheap readily available, strong and produce very little lint. Paper towels tend to shred and shed lint everywhere. The tiny amount of lint that is produced be coffee filters can very easily be blown clear with some compressed air.
Make sure to wipe down all the components including the fasteners.
We are often surprised and just how much grime is left over on the coffee filters after the wipe down process. You might think you can skip this step but after the first time you do it you will see just how dirty everything still is despite the scrub bath.
Assembling the Oil Pan
Before starting the assembly make sure to wipe clean all your tools and put on a fresh set of gloves. You don’t want to go to all the effort of cleaning everything only to get it all dirty again with your filthy tools.
With all the parts spotlessly clean re-assembly is straight forward. Work deliberately and gently reinstalling the trap doors. Pay special attention not to gaul or strip any of the fasteners to prevent creating any new debris.
We placed the trap doors in place and finger tightened the nuts and bolts before going back over with our Allen/hex key and spanner.
Reinstall the two bolts retaining the baffle in place. Make sure to use the provided lock washer to keep them held tightly in place. Again a gentle touch will help reduce the possibility of creating any debris.
Give the pan a blast with clean compressed air just to make sure any dust is completely gone. You can also use the compressed air to check that the trap doors work smoothly and easily with the baffle in place by squirting air into the four quadrants. They should open with the air flowing and drop closed after the air is off.
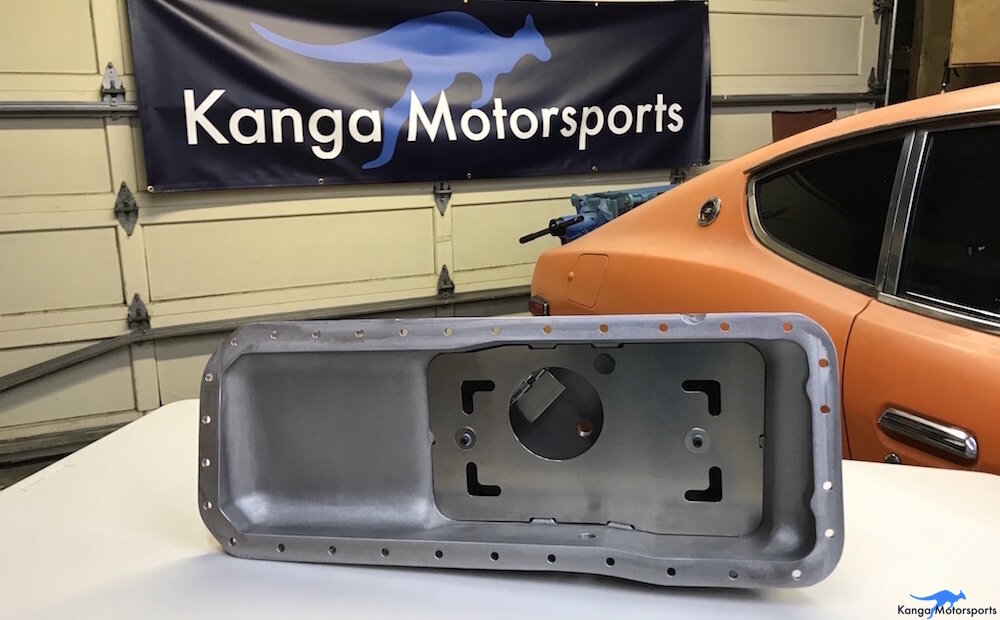
You can visually see the difference in the cleaned final product, the cast aluminum takes on a more silver tone. Prior to cleaning the contaminants and residue left a yellow/brown tinge to the surface. You can also see on the baffle plate that old part number/specifications printed on the stamped aluminum sheet have been completely removed.
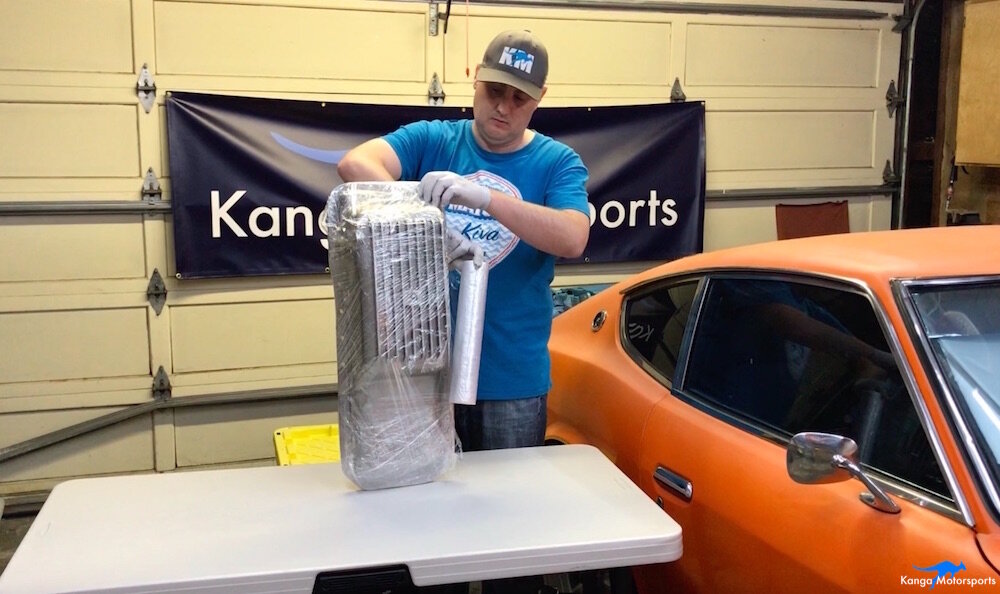
Time to wrap the oil pan up in plastic cling film and store in a bag to keep it out of any dust or debris while we work on the rest of the components for the engine build.
Want more Datsun 240z articles and tech tips sign up for our Kanga Motorsports Newsletter


