Replacing the Upper Ball Joints on the Spec Racer Ford is a maintenance item that is not often required except after a few seasons. A crash or bad off track excursion can damage the ball joint requiring a replacement. This step by step guide requires a few different spanners, simple tools and a grease gun.
Tools and Equipment Needed
Ball Joint - Moog K3082 / Enterprise PN: 1180089-1
The Moog Kit also includes:
Cotter Pin
Castle Nut
New lower fasteners
Dust Boot
Metal Cover
Zerk Fitting (not compatible with SRF)
Missing from the kit is the small set screws
Two 1/2 inch wrenches (ratcheting will speed things up)
3/4 inch wrench
Ratchet
19mm socket
1/2 inch socket
3/4 inch deep socket and ratchet
Allen Key
Pliers
Hammer / Rubber mallet
Grease Gun
Impact driver (optional)
Breaker bar (optional)
Upper Ball Joint Replacement
Brake the lug nuts loose using the 19mm socket and breaker bar or impact but don't remove yet.
Jack the front of the car in the air and put it on a low jack stand.
With the front in the air, undo the lug nuts and remove the wheel placing it out of the way.
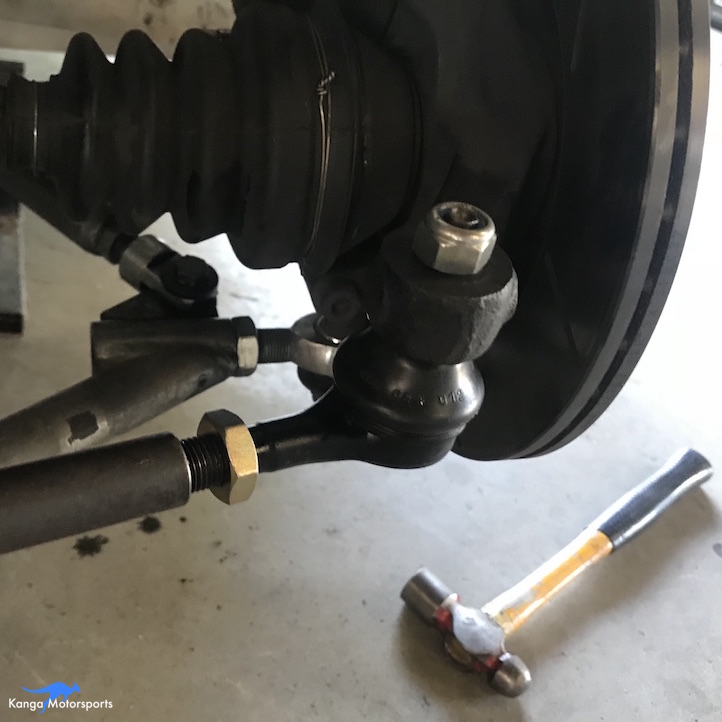
Remove the cotter pin using the needle nose pliers and undo the castle nut. You might have to use a hammer on the upper ball joint if it is rusted in place. Don't worry about the threads as you are going throw the old ball joint away.
The lower control will fall due to the weight of the upright and brake. Use a block of wood to support avoiding binding the of rod ends or stretching the brake lines.
Use the two 1/2 inch wrenches or impact driver to undo the 4 lower bolts holding the ball joint onto the upright bracket.
Remove the old upper ball joint.
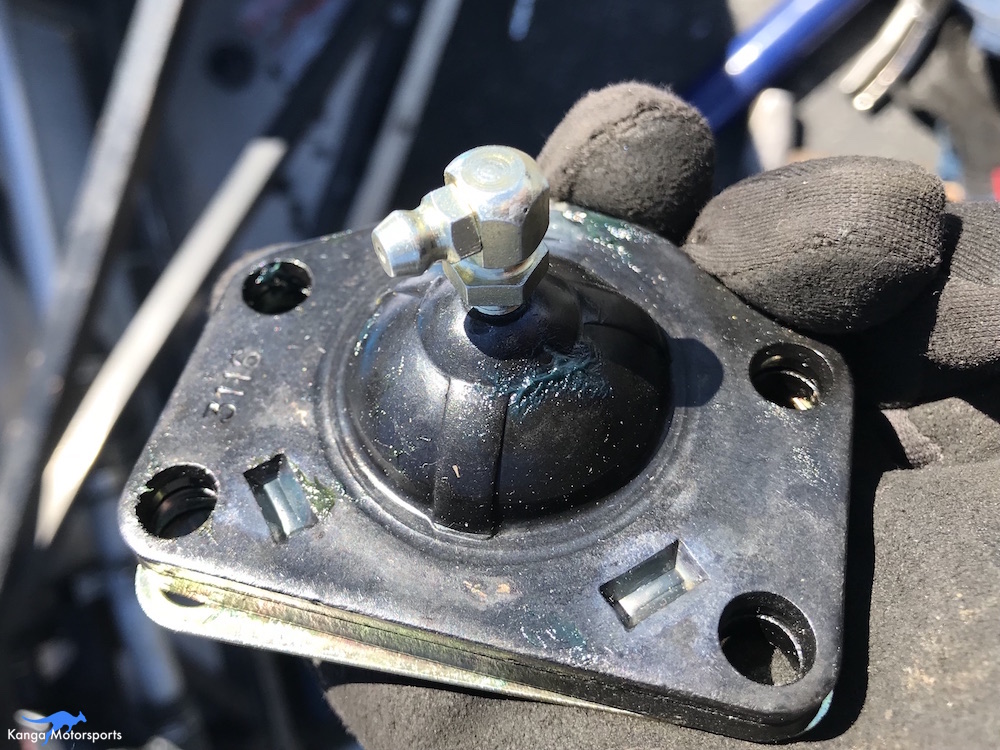
At the bottom of the ball joint is a set screw to keep the grease in and dust out. Remove the fitting using an allen key and save for later. The normal zerk fitting can't be used as it bottoms out on the upright.
The new Moog Upper Ball Joint (Enterprise PN: 1180089-1) comes with a new castle nut, cotter pin, lower fasteners, dust boot, metal cover and zerk fitting (only used temporarily).
The new upper ball joint comes with grease installed but it is a good idea to make sure there is enough by putting fresh grease inside.
Temporarily install the zerk fitting.
Use a grease gun to pump in fresh grease, we use Redline CV-2.
Remove the zerk fitting and install the old set screw you saved before.
I do the ball joints in batches and get them already at the same time as it means getting messy only once.
Install the upper ball joint onto the upright bracket. Place the dust boot over the joint and then hold it in place with the metal cover. Take note of the ball joint orientation, the curved side should be facing out away from the car.
Install the lower 4 fasteners holding the ball joint onto the bracket. Pop the bolt heads in from the top and then install the split washers and nuts below.
Tighten the nuts and bolts using either two 1/2 inch spanners or 1/2 inch socket, impact driver and a wrench.
Next lift the ball joint up into the rocker arm and hold in place with the castle nut. Tighten the castle nut into place and install the cotter pin. Bend the tabs of the cotter pin around or over the castle nut.
Continue replacing all the ball joints front and rear. It is a good idea to replace all at the same time or at least in pairs, front and rear.
Install the wheels back onto the hub, lower the car to the ground and torque the lug nuts to 55 ft-lbs.
You should now check the alignment / set-up on the car as the caster, camber and toe may have changed depending how the bracket and ball joints were tweaked.


When replacing or refilling the Spec Racer Ford coolant system you need to make sure the all the air is bled out of the system before heading out on track.